Passwordless login is becoming the most ideal way for users to log in, as it ensures users have valid email addresses and enhances security, as users do not have to keep guessing their passwords. Unlike OTP login, which sends a code to the user's phone number or email, magic link login is relatively simple to implement and can also be free.
Here is how magic link authentication works:
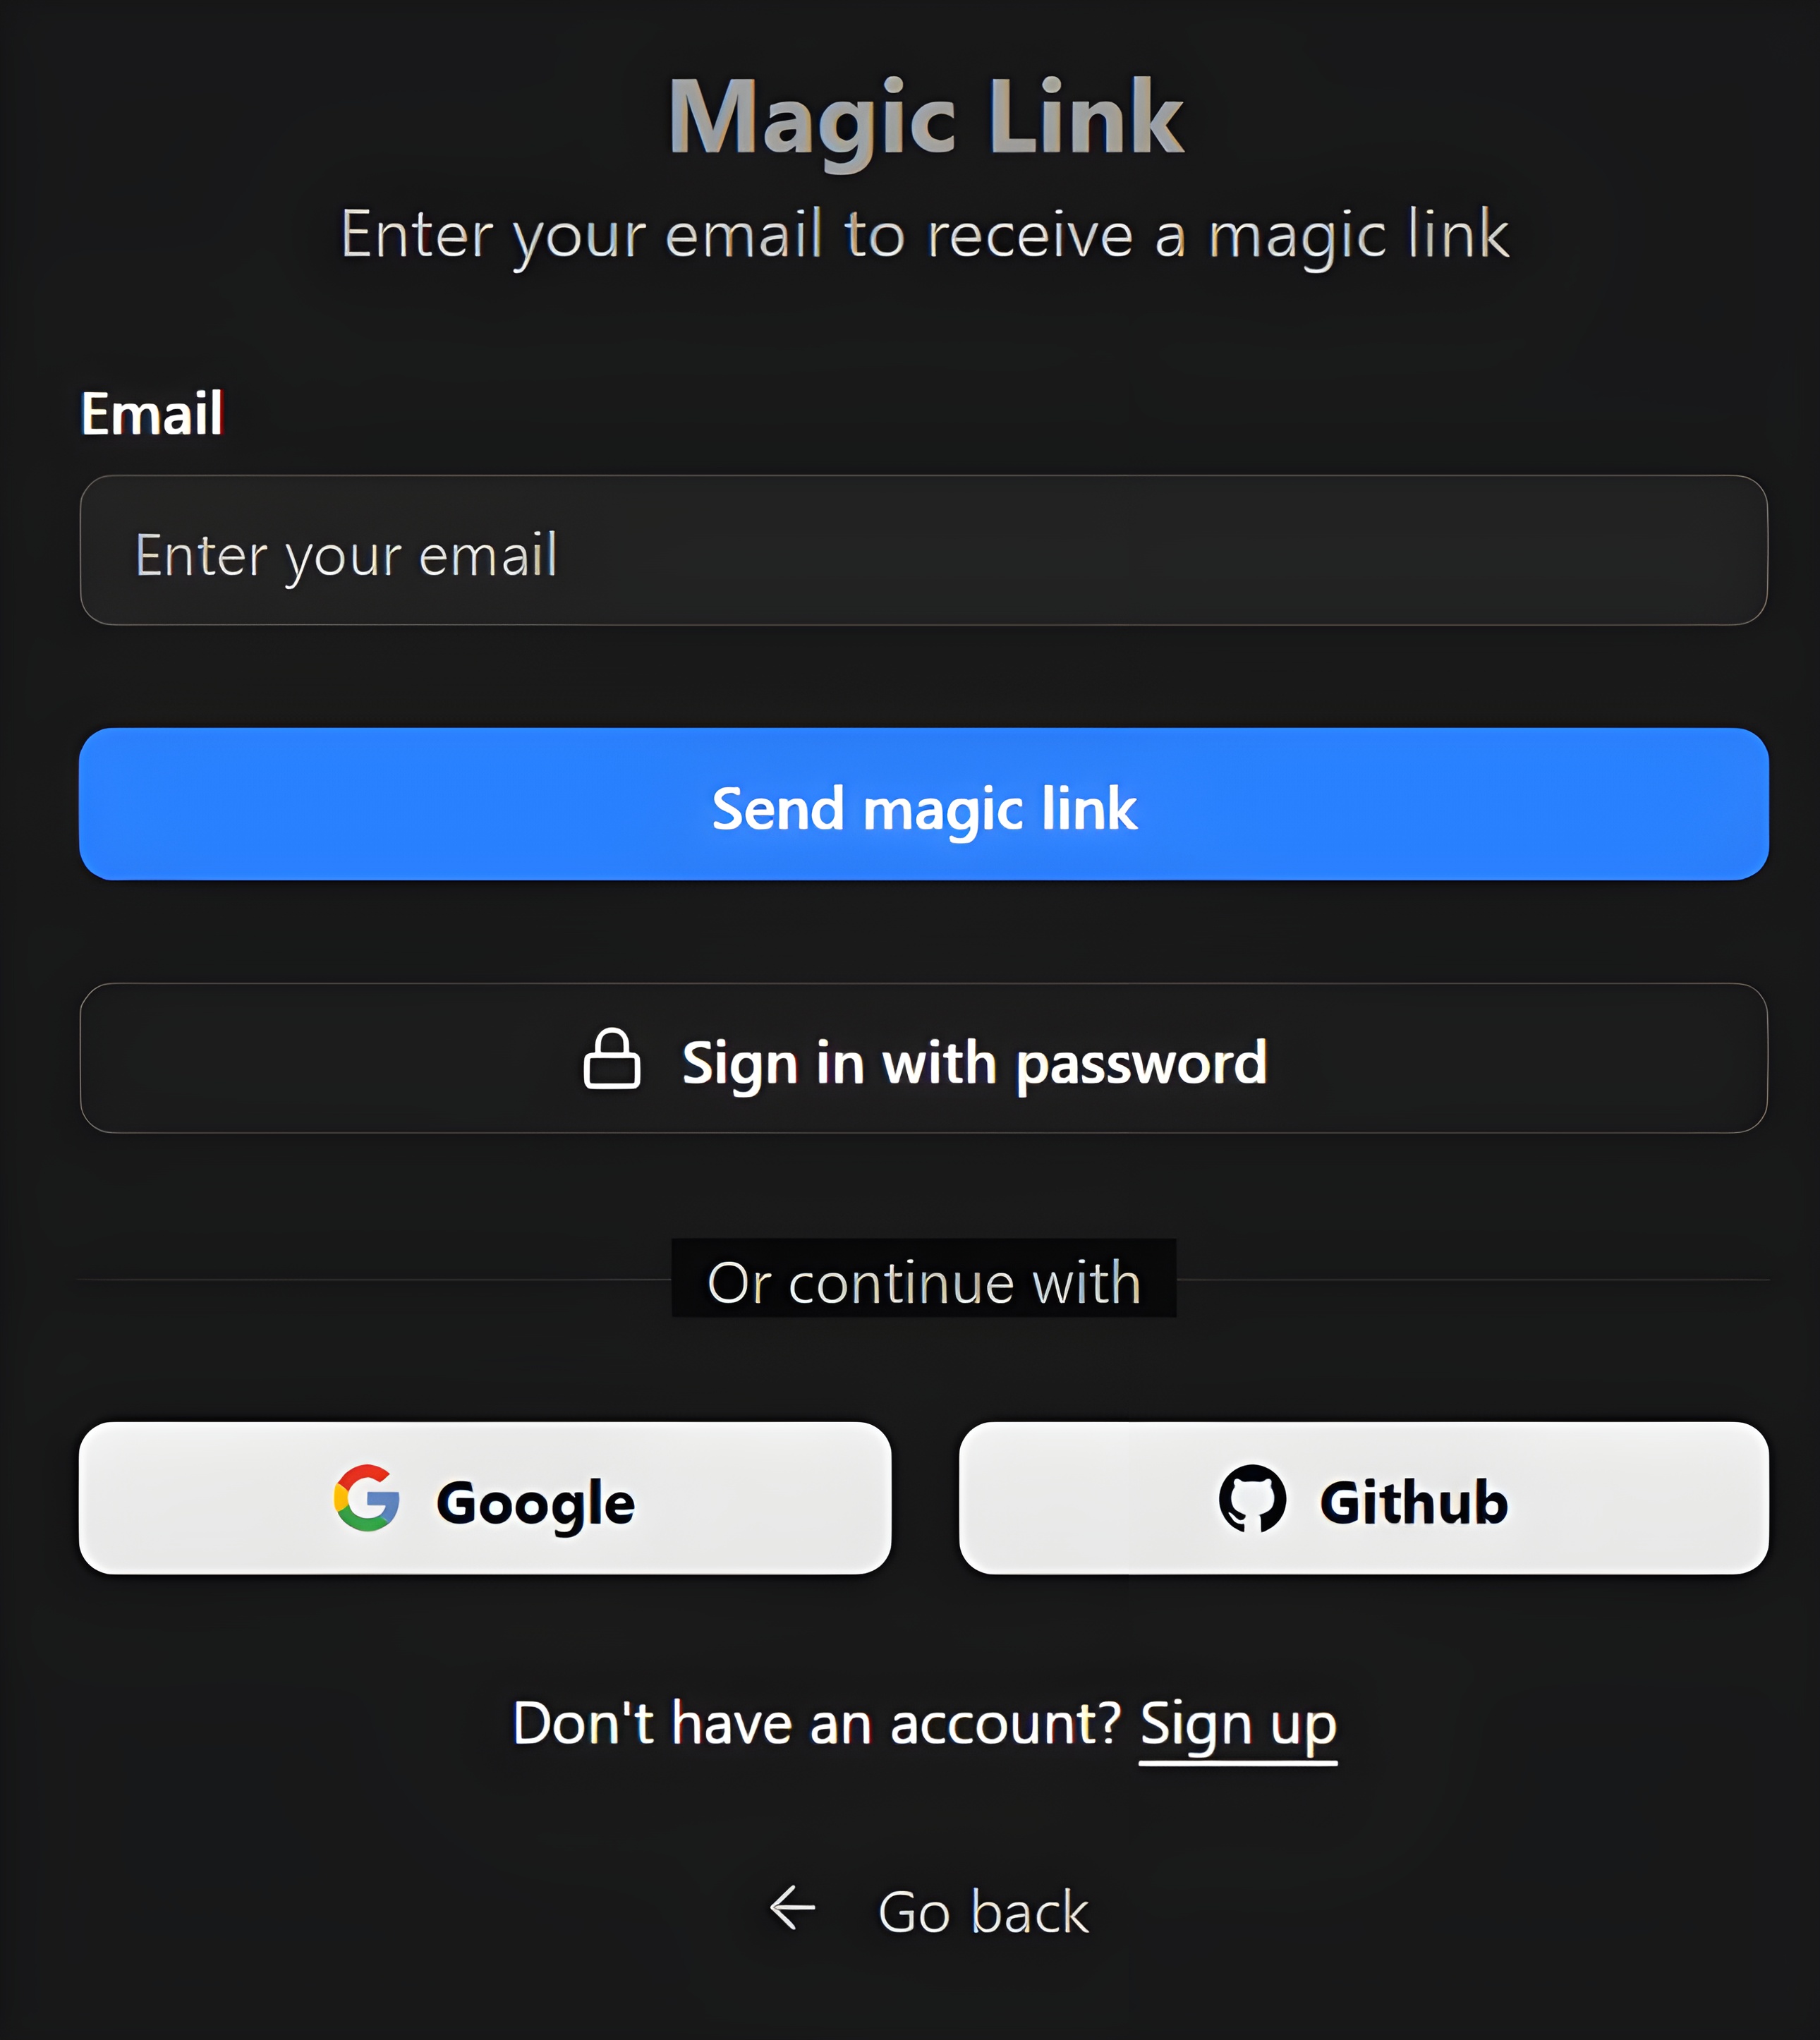
- A user visits our app, enters their email address, and clicks the Send Magic Link button.
- They click the link sent to their email, and Magic authenticates them.
- The app stores their metadata and redirects them to the dashboard page.
- The user is able to view their account.
In this blog, I will discuss my own custom strategy for MagicLink login that is currently used on this website. This is by no means the best practice since it is safer to use auth libraries like Better Auth.
Prerequisites
- A Next.js 14+ project (App Router)
- A database (examples use PostgreSQL with a query helper, but adapt as needed)
- An SMTP provider (Gmail, Resend, Postmark, etc.)
Step 1: Create the Verification Tokens Table
First, we need a table to store our short-lived login tokens. Run the following migration against your database:
CREATE TABLE verification_tokens (
  id          UUID PRIMARY KEY DEFAULT gen_random_uuid(),
  email       TEXT NOT NULL,
  token       TEXT NOT NULL UNIQUE,
  expires_at  TIMESTAMPTZ NOT NULL,
  created_at  TIMESTAMPTZ NOT NULL DEFAULT NOW()
);

-- Index for fast token lookups
CREATE INDEX idx_verification_tokens_token ON verification_tokens(token);

-- Optional: auto-clean expired tokens
CREATE INDEX idx_verification_tokens_expires ON verification_tokens(expires_at);
The expires_at column is critical — tokens should be short-lived (15–30 minutes is typical) so that a leaked or intercepted link can't be reused later. Although we can just create a normal token with JWT, using a database to store the values has an advantage of revocability.
If a user reports a suspicious login or you suspect a token was compromised, you can delete it from the database, and it's instantly dead. With a JWT, once it's signed and sent, you cannot invalidate it until it naturally expires — you'd have to build a separate token blocklist anyway, which brings you back to needing a database.
Step 2: Set Up Nodemailer
The second step is to install a mailing service to help send the magic links to user emails. Although there are various options like Resend, I prefer using Nodemailer for its simplicity and also since it is free. Run these commands to install Nodemailer.
npm install nodemailer
npm install --save-dev @types/nodemailer
After installing Nodemailer, you will need to save environment variables, including your email account. You can create app passwords with your Gmail account that will allow Nodemailer to interact with your email and send emails on your behalf. One downside of this is that your mail might go to trash or spam unless you use the Google OAuth platform.
Add your SMTP credentials to .env.local:
SMTP_HOST=smtp.gmail.com
SMTP_PORT=587
SMTP_USER=you@gmail.com
SMTP_PASS=your-app-password
SMTP_FROM=you@gmail.com
NEXT_PUBLIC_APP_URL=http://localhost:3000
The next step is to create a mailer function and a a reusable mailer instance at lib/mailer.ts:
// lib/mailer.ts
import nodemailer from "nodemailer";

export const transporter = nodemailer.createTransport({
    host: process.env.SMTP_HOST,
    port: Number(process.env.SMTP_PORT),
    secure: false, // true for port 465
    auth: {
        user: process.env.SMTP_USER,
        pass: process.env.SMTP_PASS,
    },
});
Step 3: The sendMagicLinkEmail Function
Now we will need a function that will send the magic link email. You can create your own custom magic link template or use services that allow you to create email templates. The service that I usually use for this is Mailtrap, as it allows me to create and send custom email templates.
The sendMagicLinkEmail function takes an email address and a token, then sends the magic link. Create it at lib/auth/sendMagicLinkEmail.ts:
// lib/auth/sendMagicLinkEmail.ts
import { transporter } from "@/lib/mailer";
export async function sendMagicLinkEmail(email: string, token: string) {
    const magicLink = `${process.env.NEXT_PUBLIC_APP_URL}/api/auth/magic-link?token=${token}`;
    await transporter.sendMail({
        from: `"Your App" <${process.env.SMTP_FROM}>`,
        to: email,
        subject: "Your login link",
        text: `Click this link to log in: ${magicLink}\n\nThis link expires in 15 minutes.`,
        html: `
      <div style="font-family: sans-serif; max-width: 480px; margin: 0 auto;">
        <h2>Log in to Your App</h2>
        <p>Click the button below to sign in. This link expires in <strong>15 minutes</strong>.</p>
        <a
          href="${magicLink}"
          style="
            display: inline-block;
            padding: 12px 24px;
            background-color: #0070f3;
            color: white;
            text-decoration: none;
            border-radius: 6px;
            font-size: 16px;
          "
        >
          Log in
        </a>
        <p style="color: #666; font-size: 12px; margin-top: 24px;">
          If you didn't request this, you can safely ignore this email.
        </p>
      </div>
    `,
    });
}
Obviously in a big app, you would have a reusable sendEmail function that would get called with custom instructions.
Step 4: The requestMagicLink Server Action
For the purpose of simplicity, I will not cover how to create a magic link login form since you can easily find templates and blocks such as using ShadCN UI elements. For this step, let's create a function that gets invoked when users click the Login with magic link button.
This is the function users trigger when they submit the login form. It generates a cryptographically secure token, saves it to the database, and fires the email.
Create it at lib/auth/requestMagicLink.ts:
// lib/auth/requestMagicLink.ts
"use server";
import crypto from "crypto";
import { db } from "@/lib/db"; // your database query helper
import { sendMagicLinkEmail } from "./sendMagicLinkEmail";
export async function requestMagicLink(email: string) {
    // 1. Generate a secure random token
    const token = crypto.randomBytes(32).toString("hex");
    // 2. Set expiry to 15 minutes from now
    const expiresAt = new Date(Date.now() + 15 * 60 * 1000);
    // 3. Delete any existing tokens for this email (one active link at a time)
    await db.query(
        `DELETE FROM verification_tokens WHERE email = $1`,
        [email]
    );
    // 4. Insert the new token
    await db.query(
        `INSERT INTO verification_tokens (email, token, expires_at)
     VALUES ($1, $2, $3)`,
        [email, token, expiresAt]
    );
    // 5. Send the email
    await sendMagicLinkEmail(email, token);
}
Security note: We delete any previous tokens for that email before inserting the new one. This ensures only one valid link exists at a time, preventing token accumulation.
Step 5: The Login Form
Wire up a simple login form that calls the requestMagicLink. Create app/login/page.tsx:
// app/login/page.tsx
"use client";
import { useState } from "react";
import { requestMagicLink } from "@/lib/auth/requestMagicLink";
export default function LoginPage() {
  const [email, setEmail] = useState("");
  const [submitted, setSubmitted] = useState(false);
  const [loading, setLoading] = useState(false);

  async function handleSubmit(e: React.FormEvent) {
    e.preventDefault();
    setLoading(true);

    try {
      await requestMagicLink(email);
      setSubmitted(true);
    } catch (err) {
      console.error(err);
      alert("Something went wrong. Please try again.");
    } finally {
      setLoading(false);
    }
  }

  if (submitted) {
    return (
      <div>
        <h1>Check your email</h1>
        <p>We sent a login link to <strong>{email}</strong>. It expires in 15 minutes.</p>
      </div>
    );
  }

  return (
    <div>
      <h1>Log in</h1>
      <form onSubmit={handleSubmit}>
        <input
          type="email"
          placeholder="you@example.com"
          value={email}
          onChange={(e) => setEmail(e.target.value)}
          required
        />
        <button type="submit" disabled={loading}>
          {loading ? "Sending..." : "Send login link"}
        </button>
      </form>
    </div>
  );
}
Step 6: The Magic Link Route Handler
This is the heart of the flow. When the user clicks the link in their email, this route validates the token, creates a session, and redirects them. Create app/api/auth/magic-link/route.ts:
// app/api/auth/magic-link/route.ts
import { NextRequest, NextResponse } from "next/server";
import { db } from "@/lib/db";
import { cookies } from "next/headers";

export async function GET(request: NextRequest) {
    const token = request.nextUrl.searchParams.get("token");
    // 1. Token must be present
    if (!token) {
        return NextResponse.redirect(new URL("/login?error=missing-token", request.url));
    }
    // 2. Look up the token in the database
    const result = await db.query(
        `SELECT * FROM verification_tokens WHERE token = $1`,
        [token]
    );
    const record = result.rows[0];
    // 3. Token must exist
    if (!record) {
        return NextResponse.redirect(new URL("/login?error=invalid-token", request.url));
    }
    // 4. Token must not be expired
    if (new Date(record.expires_at) < new Date()) {
        await db.query(`DELETE FROM verification_tokens WHERE token = $1`, [token]);
        return NextResponse.redirect(new URL("/login?error=expired-token", request.url));
    }
    // 5. Consume the token (delete it so it can't be reused)
    await db.query(`DELETE FROM verification_tokens WHERE token = $1`, [token]);
    // 6. Find or create the user
    let userResult = await db.query(
        `SELECT * FROM users WHERE email = $1`,
        [record.email]
    );
    if (userResult.rows.length === 0) {
        userResult = await db.query(
            `INSERT INTO users (email) VALUES ($1) RETURNING *`,
            [record.email]
        );
    }
    const user = userResult.rows[0];
    // 7. Create a session (here we use a simple signed cookie — swap in your session lib)
    const cookieStore = cookies();
    cookieStore.set("session_user_id", String(user.id), {
        httpOnly: true,
        secure: process.env.NODE_ENV === "production",
        sameSite: "lax",
        maxAge: 60 * 60 * 24 * 7, // 7 days
        path: "/",
    });

    // 8. Redirect to the app
    return NextResponse.redirect(new URL("/dashboard", request.url));
}
This is just a simple example of how to do this since I would recommend storing sessions in a Session db table and also using something like Drizzle or Prisma to handle the SQL. In this route, you can also add a rate limiter to prevent DDoS attacks.
Additionally, you might need to clean up the tokens when they expire if they have not been used by the user since this would free up space in the database. The best option is to use a cron job that runs at a specified time and checks for expired tokens in the verification table.
// app/api/cron/cleanup-tokens/route.ts
export async function GET() {
    await db.query(`DELETE FROM verification_tokens WHERE expires_at < NOW()`);
    return Response.json({ ok: true });
}
Summary
In this blog, we have covered how to implement magic link login without external auth libraries. Here is a full summary of the auth flow:
User submits email
       │
       ▼
requestMagicLink(email)
  ├─ generates token
  ├─ stores token + expiry in verification_tokens
  └─ calls sendMagicLinkEmail(email, token)
              │
              ▼
        User clicks link
              │
              ▼
GET /api/auth/magic-link?token=...
  ├─ validates token exists + not expired
  ├─ deletes token (one-time use)
  ├─ finds or creates user
  ├─ sets session cookie
  └─ redirects to /dashboard
Security Checklist
- Tokens are single-use—deleted immediately after validation
- Tokens expire—a 15-minute window limits exposure
crypto.randomBytes(32) — 256 bits of entropy, not guessablehttpOnly cookie—a session cookie is inaccessible to JavaScript- One active token per email—old tokens are replaced on each request
- No user enumeration—the login form shows a success message whether or not the email exists in your database